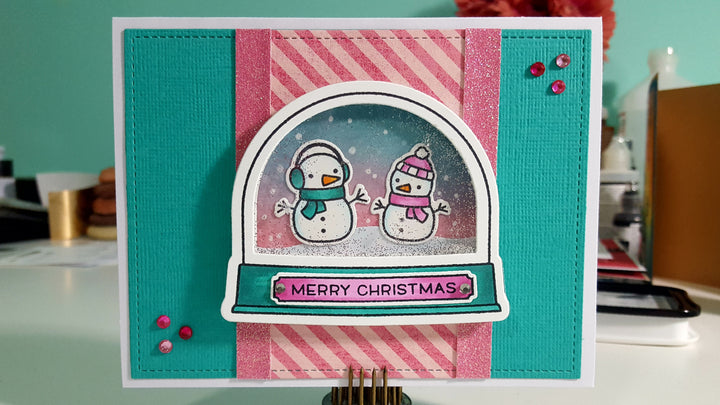
Step 1:
Diecut foam, clear flim and stamped images to create 3D shaker.
Step 2:
Used my distress inks to make background and my copics to color my snowmen and snowglobe, then assembled with glitter in the center layer.
Step 3:
Cut background pieces and diecut them with my Lawn Fawn Stiched outside in rectange dies. I love a stitched edge.
Step 4:
Add details, like glitter ribbon, to background.
Step 5:
Assembled card and added gems for a finishing touch.
Blog Address: https://cshorrcreations.blogspot.com
Instagram account: Courtcrafts82
Items Used:
Lawn Fawn Ready, Set, Snow Stamp LF973
Lawn Fawn Ready, Set, Snow Die LF974
Lawn Fawn Ready, Set, Snow Shaker Add On LF975
Lawn Fawn Outside In Stitched Rectangle Stackables LF1442
Copic Sketch Marker Moon White BG11-s
Copic Sketch Marker Mint Green BG13-s
Copic Sketch Marker Aqua BG15-s
Copic Sketch Marker Hollyhock RV55-s
Copic Sketch Marker Cotton Candy RV52-s
Tim Holtz Distress Ink Pad Broken China TIM-21414
Tim Holtz Distress Ink Pad Shaded Lilac TIM-34957

