![]()
Thank you so much for stopping by and checking out this lovely project, let’s jump right into how it was made.
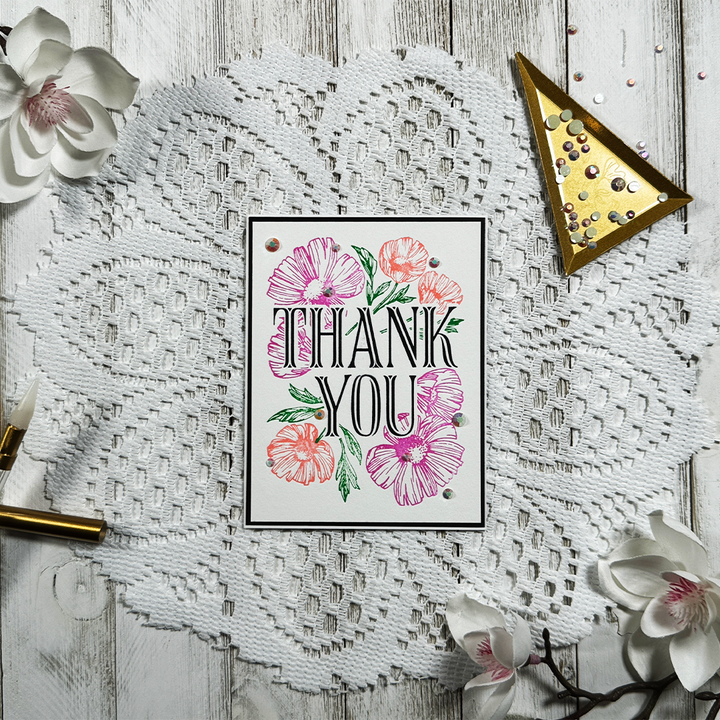
This card came together very quickly with the use of the stunning Betterpress plates!! I used the acetate guide for the thank you bloom plates to line up each element of the design. I pressed the Thank you plate first with Black ink, the larger florals second with Wild Berry ink, the smaller flowers were next with Azalea ink and finally the leaves with Leaf ink on some porcelain cotton cardstock.
Once the Panel was complete I trimmed down a black matte to be about an 18th of an inch smaller than my A2 sized base and the cotton panel was trimmer down to be about 1/4 of an inch smaller than the base. Allowing me to have a think border around each layer.
All that was left is to adhere my layers and add a few Glacier gems across the panel for some added shimmer and shine and I called this card done.
Thank you so much for taking this quick look at how this card came together. If you would like a more in-depth look please check out the video below, I also have a complete supplies list in case you want to know exactly what I used. I hope to see you again very soon!!
Supplies: