

Hey crafty friends! Tiffany here with a new mixed media card featuring a recently released stamp and die set from Gina K Designs called Sending You a Smile. This pretty floral set features two big, detailed floral stamps, large enough to be a focal element on your card front. I took a semi "no color" approach to the flower, but these would be beautiful colored with your favorite coloring medium. I appreciate that the artist drew a lot of shading lines which makes it easier to add in depth.

Let's start with the background. Sometimes people can be intimidated by mixed media, but I will take your through step by step. It is easier than it may appear! I like to just let things go when I create mixed media backgrounds. It doesn't have to be perfect and no two backgrounds will look alike. It may be tough to let go of control, but I promise once you do, you will feel better about your end result.

The first step is to color a panel of distress watercolor paper using distress spray stains in picked raspberry, wilted violet, and candied apple. I placed an A2 panel of distress watercolor paper in my splat box and spritzed with clean water using the distress sprayer. Then spray with the spray stains allowing the colors to mix. I prefer to wet my panel before adding the spray stain because the colorant doesn't automatically absorb into the paper like it would if the watercolor paper was dry. It allows the color to move more.
It is important to dry between layers and I use my Heat Tool all the time for this. It is better than an embossing gun because it won't scorch your paper and the fan's surface area is larger. After the first layer of ink was mostly dried, I added more splatters of water and then dried. I added more spray stain color in certain spots, then dried, and repeated these steps until I was happy with the panel. Layering water and spray stain helps you build up texture. Finally, I added splatter of distress oxide spray in aged mahogany. The oxide spray remains on top and is opaque so it is perfect for adding another layer of texture.
With an inky background, I like to cut it down so my A2 card has a white border. The white border gives your eyes a place to rest. I die cut the panel down using a rectangle die. I like to use rectangle dies for panels because it gives you perfect, clean edges.

Next, I added additional detail with stencils. I used the Stampers Anonymous Tiles stencil with distress oxide inks in villainous potion, aged mahogany, and candied apple. I tried to match the oxide color to the distress ink color underneath for a tone-on-tone look. But, you will see on the final card that I changed my mind. I did not like the way the oxide looked over the panel, so I placed the stencil again and added white pigment ink instead.
 I also used the Sizzix Layered Scroll Text stencil with gold Lunar Paste. I only used the scripty text layer in the stencil set with the paste. I spread the paste with my palette knife. I love the shine and dimension of the Lunar Paste. The final detail was white paint splatter over the panel.

While the background was drying, I worked on my focal flower. I stamped the flower with versamark ink on distress watercolor paper and embossed with a mixture of gold embossing powder and embossing glazes in picked raspberry and villainous potion. I wanted the color of the flower to match the background so I did some selective embossing by adding each color one at a time and sprinkling it with my fingers in certain areas. I tried to concentrate the dark purple in the center, fading to pink petals and leaving the leaves gold. It's not an exact science, but that is ok.

Because the background was so dark, I did not want to color in my flower completely. So I added some distress spray stain and water to a scrap piece of acetate and lightly smooshed the color onto the flower. I added purple and pink ink this way to the flower. I added white splatters over the flower.

For the sentiment, I gold heat embossed 'smile' from the stamp set on white paper and die cut it with the coordinating die. I used the coordinating die to die cut another layer that I inked with wilted violet distress spray stain. I adhered the layers together slightly offset. I gold heat embossed a sub-sentiment on purple cardstock and used my scissors to trim it into a banner.

I popped up the flower with foam tape and added gold twine behind it for another layering detail. I also popped up the sentiment with foam tape. Finally, I added a layer of red cardstock behind my inky panel and adhered everything to my card base.


Hope you enjoyed this card and are inspired to get inky. If you have any questions, please comment below. Have a great day!
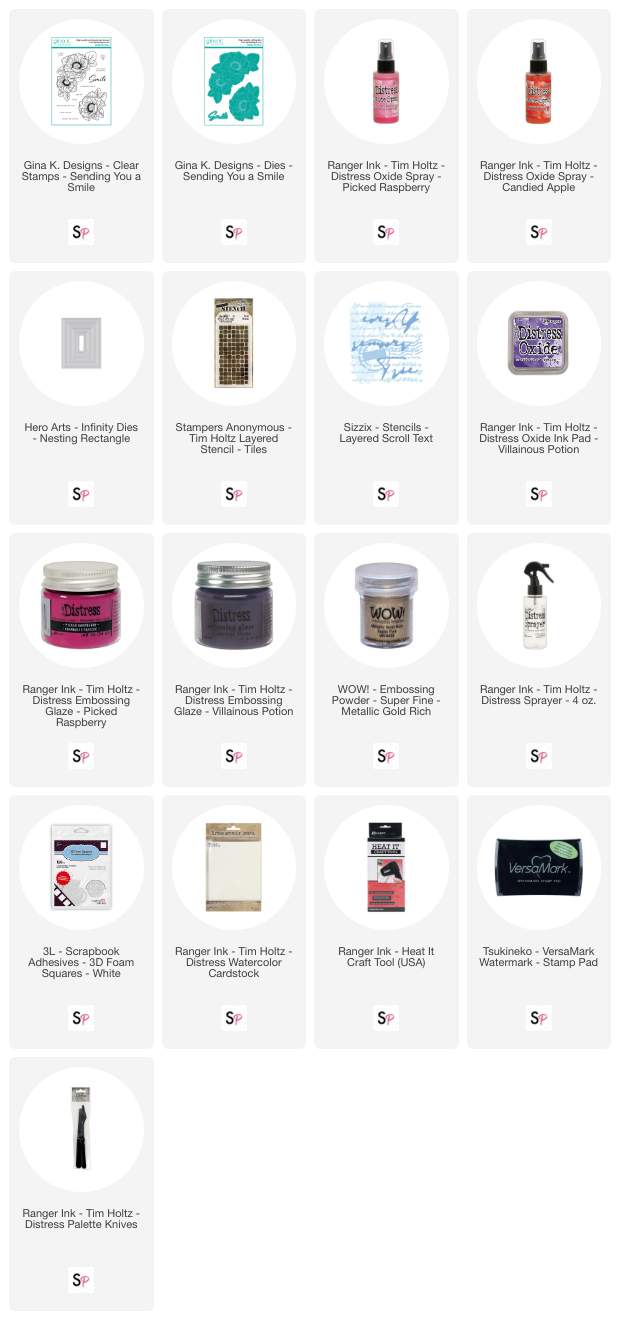
Supplies:


Comment
This is Gorgeous! The colors rock!